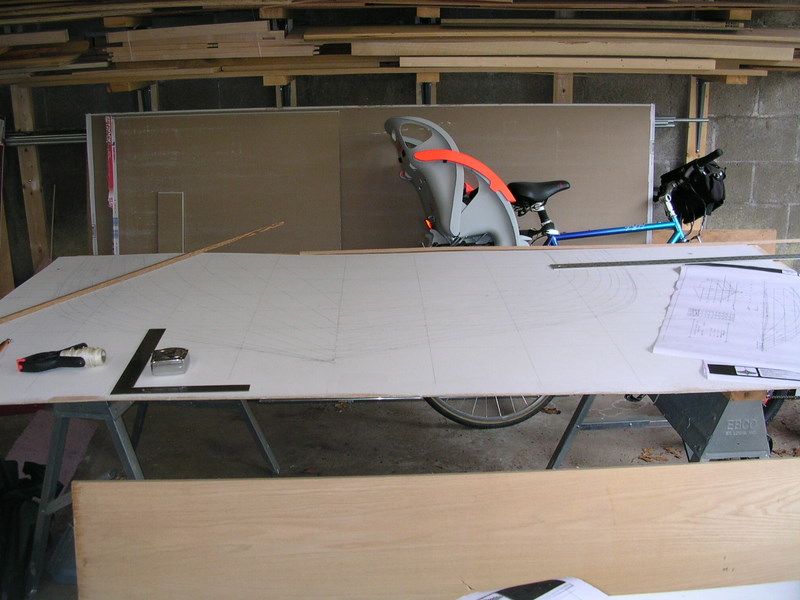
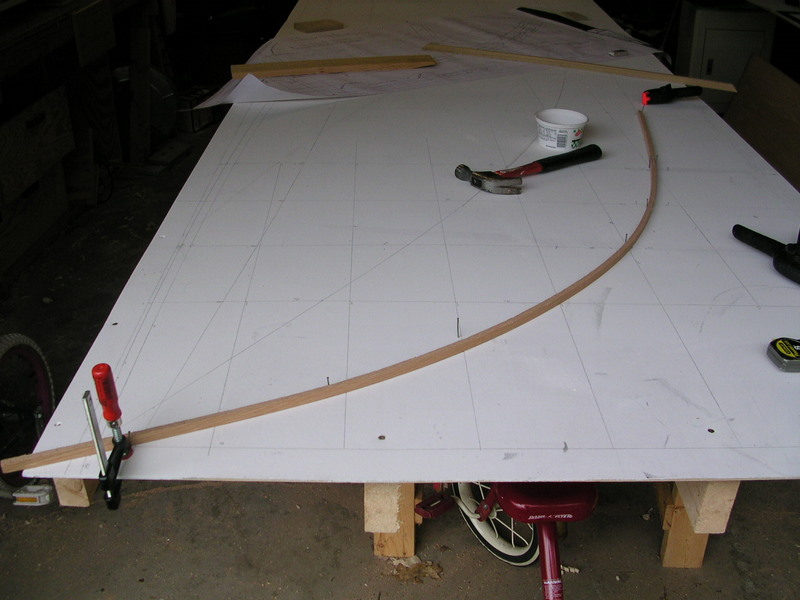
In building my Haven, I felt that having full-size lofting would pay off in the long run. I originally decided to do this so I could lay out the rabbet on the stem. I thought the lofted plans would be helpful to visualize and measure any part of the boat.
For my lofting surface I used 6mm luan, painted with the cheapest flat white paint that Lowes carried (Behr High Coverage White) - it took two coats. The lofting table was built of 3/4in AC plywood on 2x4 on edge, all set on top of sawhorses. The waterline and buttock plan was on a 16 foot table and the body plan was on an 8 foot table.
Lofting Surface
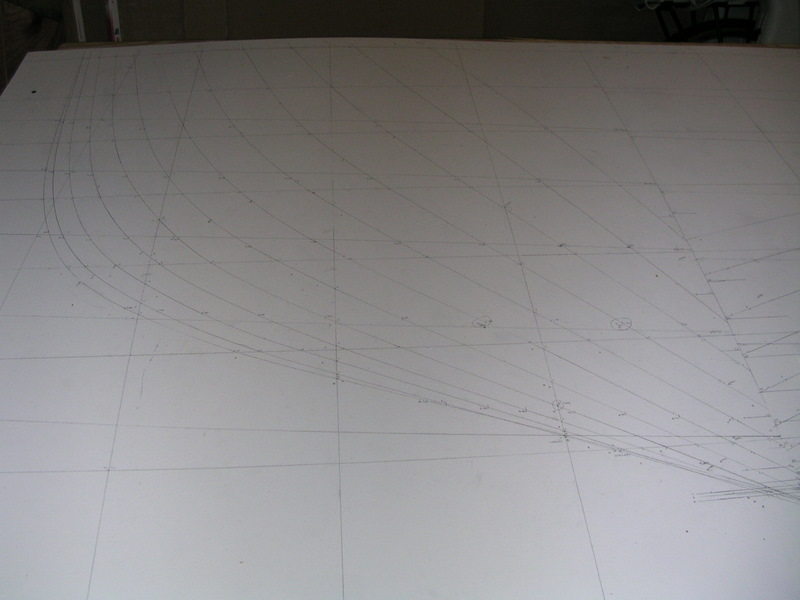
The Haven plans do not include offsets, so I had to lift those from the plans. I used tick strips to lay out the body plan. Then I transferred the points to the lofting table and sprung a batten through them. All the points fell nicely.
Offsets
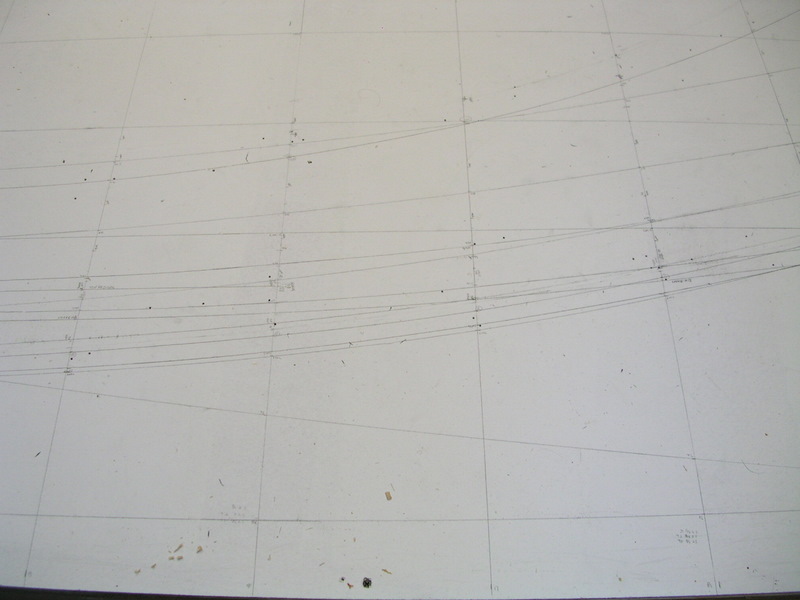
I then transferred the waterlines to the waterline plan. One problem I had was that the waterlines do not appear directly on the body plan, since the construction baseline is at an angle to the waterlines. You cannot simply draw a sloped line on the body plan but must mark waterlines on the plan and then transfer them to the body plan and pull off the waterline offsets. When transferred to the body plan, the waterline is not a straight line.
Another complication is that the WoodenBoat body plans are drawn to the inside of frame. To get the true waterlines, you must add the frame thickness (13/16) plus the plank thickness (1/2). Also, the plank is rarely perpendicular to the body plan, so the angle of each plank must be established. I used a framing square method to identify these angles and then transferred them to a story stick..
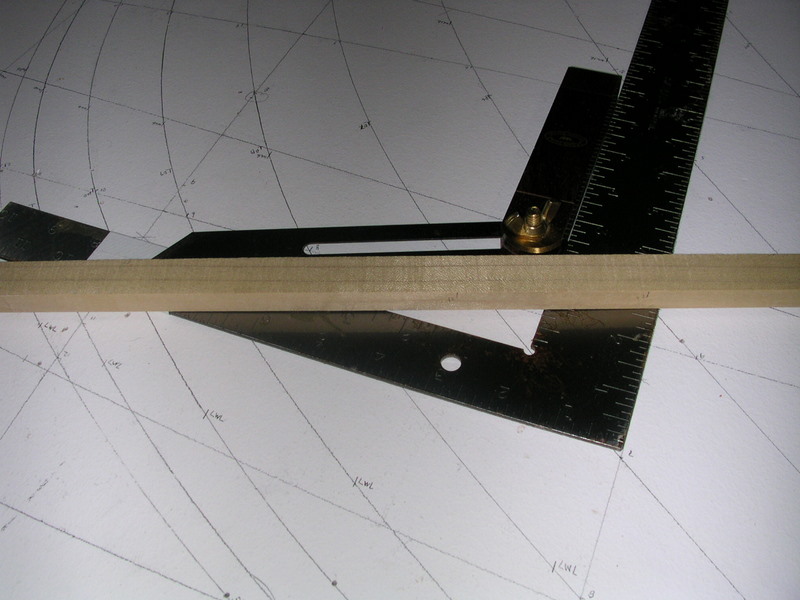
Lifting Angles
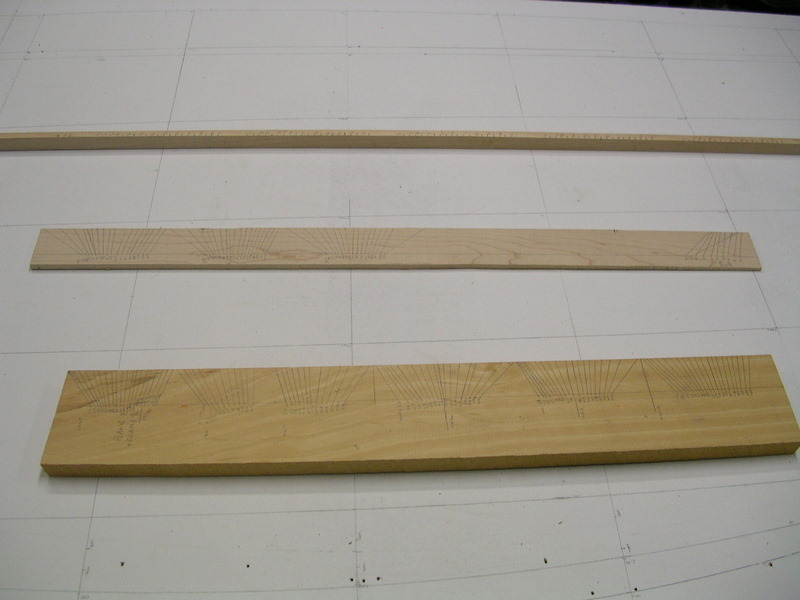
Story Stick
The waterlines points were laid down, a batten sprung through them, and the line struck. A few body plan points were a little off and the differences were applied to the body plan. Most of the differences were in the bilges. Note that I did not completely reverse the first process but assumed that the difference would be correct regardless of the angles.
I added the sheer and transom. The waterline procedure was applied for the buttock lines. The outline of the boat could be added from the plan dimensions.
Sheer and Transom
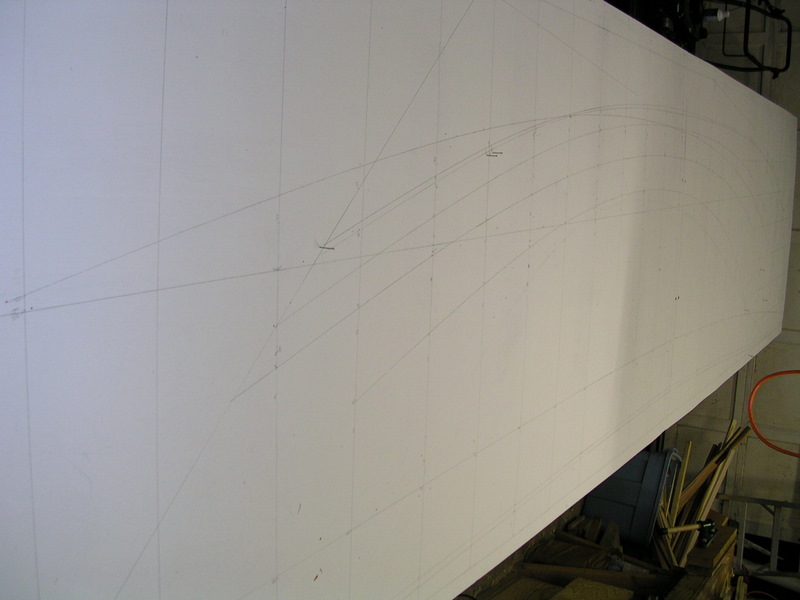
Waterlines
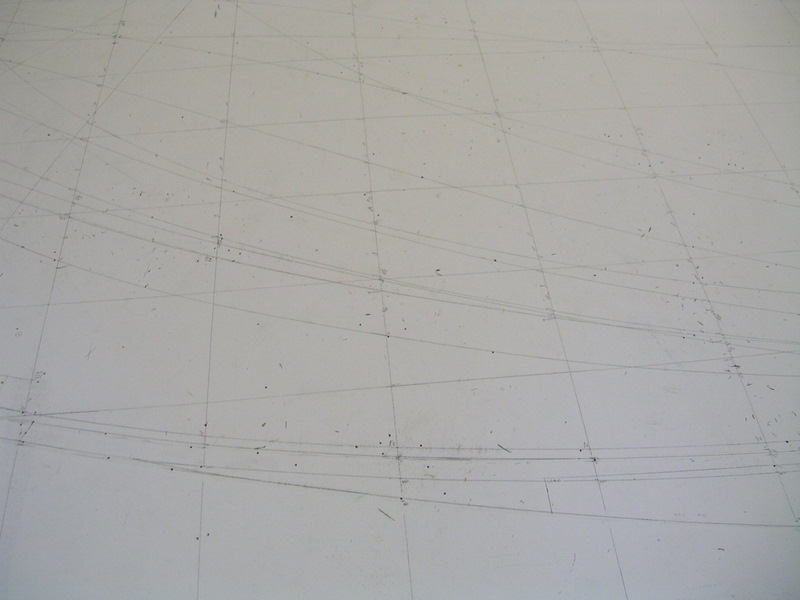
Finally, I transferred the other important lines to the outline plan. There were a few little funnies. The stem line at sheer is actually at a negative offset from station 0 which reflects the distance the stem exceeds the planking.

Stem
The area where the keel plank enters the stem is not obvious and the WoodenBoat plans are not helpful. I laid out the rabbet, bearding and apex lines on the stem.
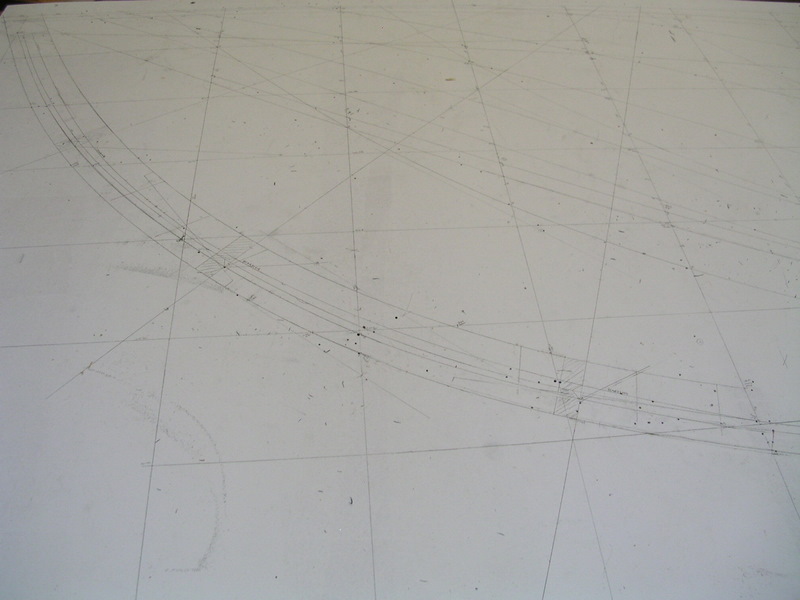
Stem
It took a few tries to get the keel lines so that the bottom and rabbet lines made sense relative to each other.
Stem
Stem
I applied the lines of the lead and the outline of the boat where the stem enters the lead keel. The offsets in the plans required a lot of interpretation with the batten - I found the small scale plans most useful for this.
Top of Lead
From these lines I was able to pull off some of the other challenging lines of the internal structure. The locations of the top of keel, the bed logs and the centerboard case were all easily identified.
In the end, only a few body plan offset points got moved. I think they would have been obvious during the fairing process.

Body Plan Forward

Body Plan Aft
And, I got to see the boat laid out full-size:
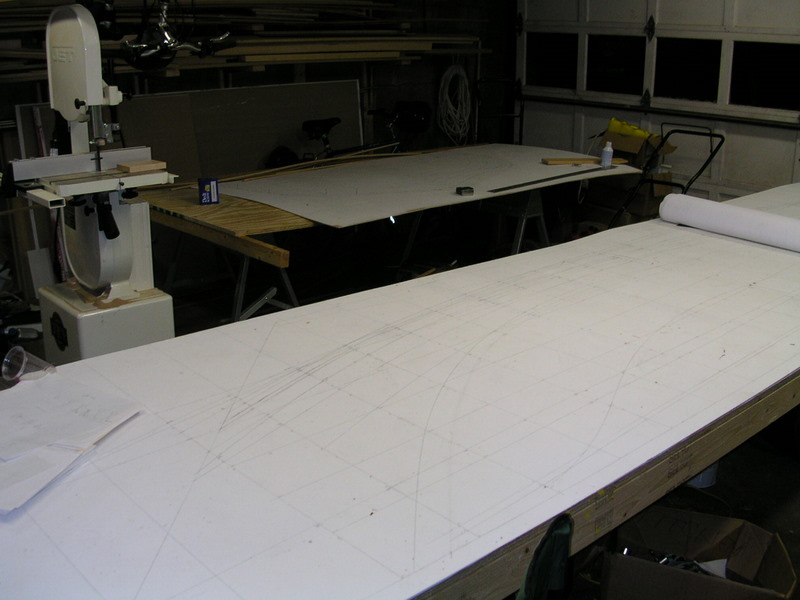
Full-Sized Haven